

Learn how to repair holes in aluminum siding with step‑by‑step instructions, tools needed, common causes, costs, and pro tips. Call for a free siding inspection!
Homeowners in Leominster, MA, know how quickly small issues like holes in aluminum siding can turn into big problems, such as energy loss, pest entry, water damage, and decreased curb appeal. When you’re searching for how to repair holes in aluminum siding, this guide gives you practical steps, common causes, essential tools, and clear decisions between DIY siding repair and calling a professional. Whether it’s a tiny dent or a larger gap from lawn equipment or weather, this article helps you understand the process, avoid mistakes, and protect your home’s exterior investment with confidence.
For expert siding repair in Leominster, MA, trust Brian M. LeBlanc Roofing for professional solutions and free inspections. Our team ensures durable repairs and a flawless finish every time.
What You’ll Learn in This Aluminum Siding Repair Guide
This guide is designed to help Leominster homeowners understand how to repair holes in aluminum siding, including the common causes, step‑by‑step repair methods, tools needed, and tips to decide between a DIY fix or calling a professional.
- Common causes of holes in aluminum siding
- How to assess hole damage correctly
- Repair options based on hole size
- A step‑by‑step repair process you can follow
- Finishing and color‑matching tips that look great
- Maintenance tips to prevent future damage
- When it makes sense to call a professional siding repair contractor
- Cost‑effective DIY solutions vs. professional repair
- Common mistakes to avoid
- Safety tips, recommended tools, and materials
Why Maintaining Your Aluminum Siding Matters
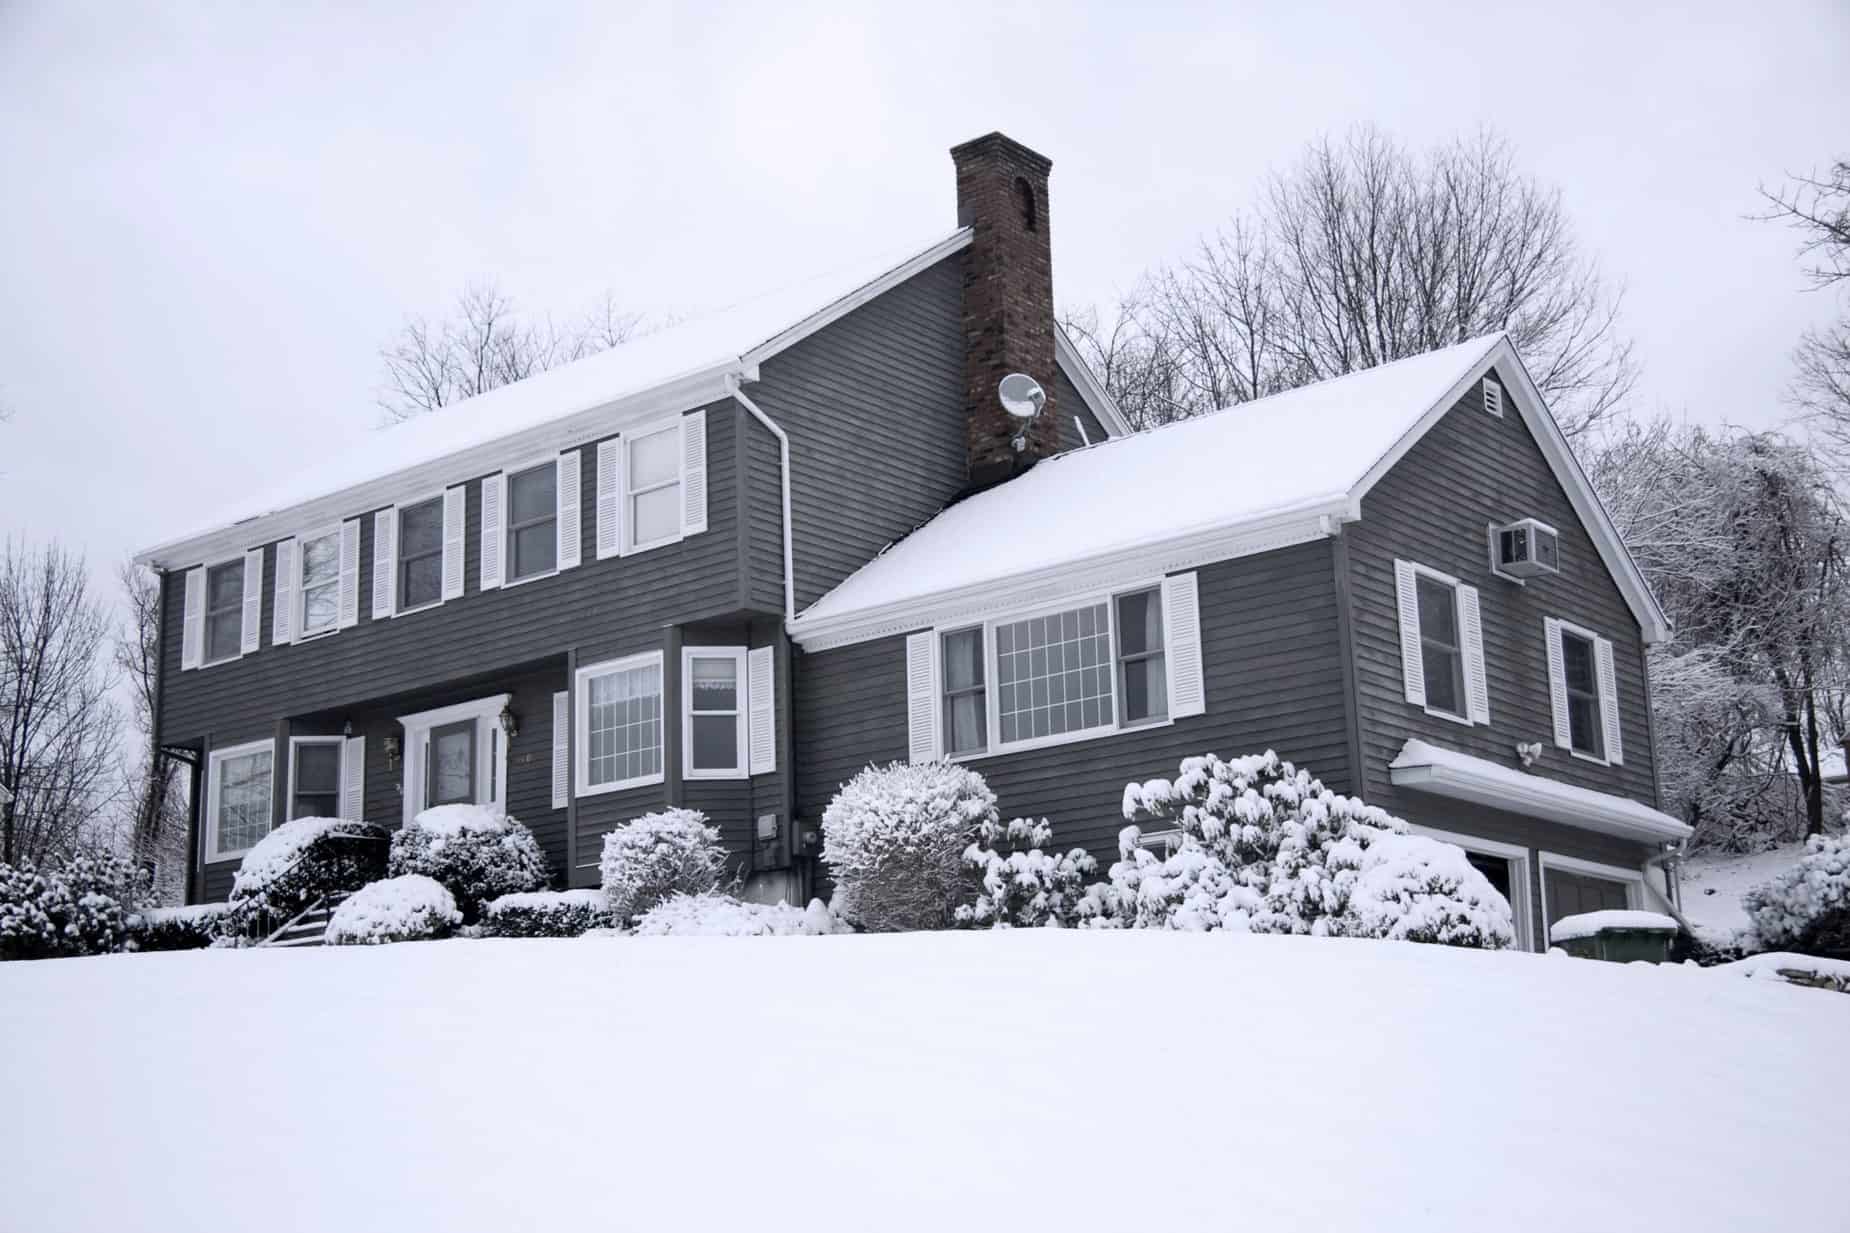
Aluminum siding plays a vital role in protecting your home from the elements, improving energy efficiency, and preserving aesthetic appeal. In regions like Leominster, where seasonal temperature shifts, rain, and occasional wind storms are common, even small holes can allow moisture, cold air, and insects into your wall cavity, leading to insulation issues, rot, and costly repairs. Addressing holes early, whether by your own hands or with professional help, safeguards comfort and value throughout the year.
Common Causes of Holes in Aluminum Siding
Weather and Impact Damage
Strong winds, hail, or flying debris during storms can dent or puncture siding.
These holes can worsen over time as water gets behind the panels.
Lawn Equipment and Tools
Trimmers, ladders, and other yard gear can accidentally hit siding, leaving holes or dents.
Animal Activity
Wildlife such as birds or rodents can peck, scratch, or chew at siding, creating entry points.
Wear and Tear Over Time
Age, expansion, and contraction from temperature swings weaken siding, making it more susceptible to punctures.
Understanding the cause helps determine the right repair method — from simple patching to more extensive panel replacement.
Assessing the Damage
Before you begin repairs, take a close look at the hole size, location, and surrounding siding condition:
- Small holes (<1 inch): Usually repairable with patch kits or fillers.
- Medium holes (1–3 inches): May require a patch plate and some trimming.
- Large holes (>3 inches): Often need a siding section replacement.
Also, check if water has penetrated beneath the siding; rot or mold requires more than surface fixes and should be addressed promptly.
Repair Options by Hole Size
Small Holes
- Use aluminum siding patch kits
- Vinyl‑compatible caulk or exterior filler
- Paint or color coat to blend
Medium Holes
- Metal patch plate cut to size
- Exterior adhesive plus fasteners
- Seal edges with waterproof caulk
Large Holes
- Remove and replace the full siding panel
- Match profile and lap style
- Professional cutting tools for seamless fit
Choosing the right method up front saves time and ensures a durable result.
Step‑by‑Step Repair Process
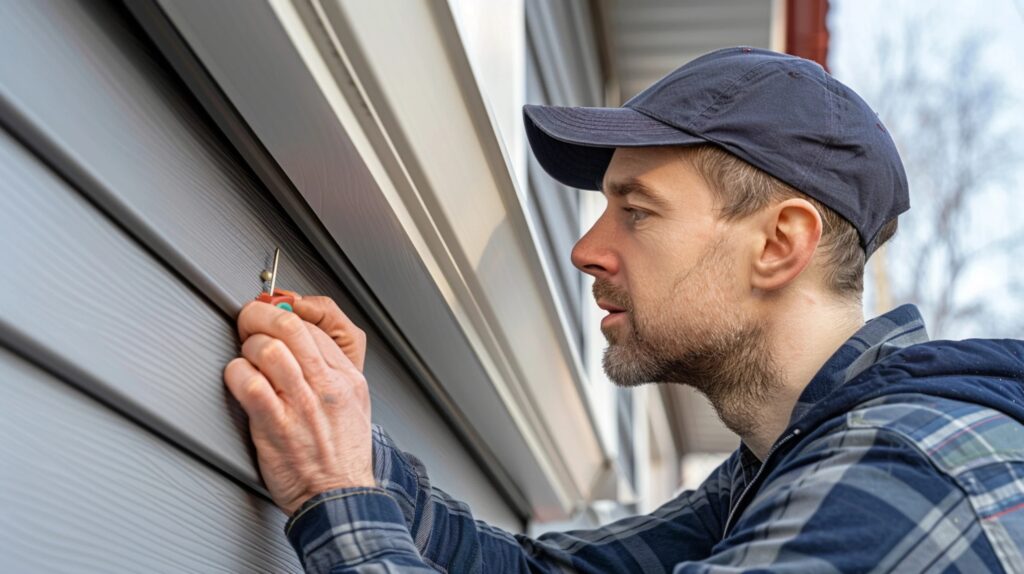
Repairing holes in aluminum siding may seem intimidating at first, but with the right preparation, tools, and steps, even a DIY homeowner can achieve professional-looking results. Follow this detailed process to ensure your siding is restored properly and protected from future damage.
1. Clean the Area
Before you attempt any repair, it’s crucial to thoroughly clean the damaged area. Remove all dirt, dust, debris, and loose paint surrounding the hole. Use a mild detergent and a soft brush or cloth to scrub the surface gently. This not only ensures better adhesion of patch materials but also allows you to inspect the area for any hidden cracks, rust, or water damage. If moisture has penetrated behind the siding, allow the area to dry completely before proceeding. In Leominster, MA, where humidity and seasonal rain are common, skipping this step can reduce the lifespan of your repair.
2. Prepare the Patch
Select a patch plate or metal piece slightly larger than the hole. Using tin snips, cut the patch so it overlaps the damaged area by at least half an inch on all sides. Smooth all sharp edges with a metal file to prevent injury and ensure a snug fit. For medium to large holes, make sure the patch matches the profile of your existing siding, especially if your panels have grooves or ridges. A well-prepared patch ensures that your repair is durable and less noticeable once installed.
3. Apply Adhesive or Sealant
Choose a high-quality siding-rated adhesive or exterior caulk to bond the patch to your siding. Apply a generous but controlled bead around the perimeter of the hole and on the back side of the patch. This helps prevent water infiltration and strengthens the bond between the patch and the existing siding. Make sure the adhesive is compatible with aluminum and can withstand outdoor weather, including rain, snow, and sun exposure common in Leominster. For larger holes, combining adhesive with mechanical fasteners adds extra durability.
4. Install the Patch
Carefully position the patch over the hole, pressing it firmly against the siding so it sits flush with the surrounding surface. Take your time to align it properly, especially if your siding has a textured or grooved pattern. Small adjustments at this stage will make your repair more seamless. If necessary, use temporary masking tape to hold the patch in place while the adhesive sets. Proper placement is critical to prevent gaps that can allow moisture, insects, or air drafts to enter behind the siding.
5. Secure and Seal
Once the patch is aligned, reinforce it with fasteners if needed. Stainless steel or corrosion-resistant screws are best for exterior aluminum siding. Drive them carefully to avoid bending or cracking the patch. After securing, apply an additional layer of waterproof caulk around all edges of the patch. Smooth the caulk with a putty knife or your finger to ensure a tight seal and a neat appearance. Proper sealing is essential in preventing water intrusion, which can cause mold, rot, or insulation damage over time.
6. Finish with Paint
The final step is color matching and painting. Use exterior-grade aluminum paint that closely matches your siding color and sheen. Apply one or two thin coats with a brush or small roller, feathering the edges to blend the patch seamlessly with the surrounding panels. If your siding has faded due to age or sun exposure, you may need to lightly paint the surrounding area as well for a uniform look. Allow the paint to dry completely according to the manufacturer’s instructions before exposing the repair to rain or harsh weather. This step not only enhances aesthetics but also adds an extra layer of protection against the elements.
Finishing & Color Matching
One of the biggest challenges in aluminum siding repair is making the fix invisible. For best results:
- Match paint to existing siding hue and sheen
- Feather edges carefully to blend
- Consider a full panel painting if multiple repairs are visible
A pro siding contractor can blend or re‑coat larger areas for a uniform appearance.
Maintenance and Longevity
Once repaired:
- Check siding at least twice a year
- Clean surfaces to prevent mold and dirt buildup
- Trim plants and avoid impact from tools or ladders
- Schedule professional inspections for aging siding
Ongoing maintenance prolongs siding life and keeps repair costs low
When to Call a Professional
While small holes in aluminum siding can often be patched by handy homeowners, it’s important to call a professional when you’re unsure how to repair holes in aluminum siding or if the damage is more complex. You should contact a pro if:
- Holes are large, or multiple areas are damaged
- Damage is near corners, seams, or edges where proper alignment is critical
- Water has penetrated the wall sheathing, risking rot or mold
- You’re uncertain about the correct tools, materials, or techniques
A skilled siding contractor can ensure a durable, long‑lasting repair that matches your home’s exterior seamlessly. Professional repairs not only save time and effort but also prevent future issues, giving homeowners in Leominster, MA, confidence that their siding is protected and looks its best.
Cost‑Effective DIY Solutions vs. Professional Repair
DIY Repairs can be budget‑friendly for tiny holes if you have basic tools and comfort with home projects. However:
- DIY may lack perfect color matching
- Improper sealing can lead to moisture issues
- Risk of damage if the tools or cuts are wrong
Professional Repair offers:
- Expert assessment and lasting fixes
- Better color blending and finish
- Warranty‑backed work
- Peace of mind and faster turnaround
Remember: quality repair today prevents costly siding or structural issues tomorrow.
Common Mistakes to Avoid
- Skipping proper cleaning before patching
- Using indoor fillers on exterior siding
- Ignoring underlying water damage
- Cutting panels incorrectly
- Not matching the siding profile or color
Avoiding these pitfalls ensures your repair looks great and lasts.
Safety Tips and Tool Recommendations
Safety First:
- Wear gloves and eye protection
- Use a sturdy ladder with someone spotting you
- Avoid repairs in wet or windy weather
Helpful Tools & Materials:
- Patch plates or siding repair kits
- Exterior caulk and adhesive
- Tin snips and files
- Matching exterior paint and brushes
Good tools and proper safety make DIY tasks easier and safer.
Need Help Repairing Holes in Your Aluminum Siding?
Small holes can grow into big issues fast. If you’re in Leominster, MA, and want a professional assessment or repair, trust Brian M. LeBlanc Roofing for high‑quality siding repair services. With years of experience serving Central Massachusetts and surrounding communities, the team provides honest inspections, expert repairs, and durable results that protect your home. Call now for a free inspection and estimate, or contact the siding experts today.
Why Homeowners & Businesses Trust Brian M. LeBlanc Roofing
Brian M. LeBlanc Roofing is a fully licensed and reputable contractor based in Leominster, MA, proudly serving homeowners and businesses across Leominster and the surrounding areas. With years of hands-on industry experience, we deliver dependable, long-lasting roofing and siding solutions, including professional cement siding repairs.
- Licensed, insured, and experienced with hundreds of roofs and siding projects in Leominster, MA
- Experts in durable, weather-resistant roofing and siding built for New England’s storms, snow, and seasonal weather
- Complete services: roof repair, roof replacement, vinyl siding repair, inspections, and maintenance
- Serving homes, offices, warehouses, and commercial properties throughout Leominster and nearby areas
- Honest, transparent, and customer-first service approach
Conclusion
Repairing holes in aluminum siding not only improves your home’s curb appeal but also protects against water intrusion, pests, and energy loss. Learning how to repair holes in aluminum siding correctly ensures that you address damage promptly and prevent costly issues down the road. With the right tools, materials, and step‑by‑step process outlined above, you can restore your siding confidently and effectively. For long‑lasting results and expert assessment, Brian M. LeBlanc Roofing is here to help homeowners in Leominster, MA stay protected.
For more details, check our GMB Profile. It provides additional tips, photos, and helpful resources to guide homeowners through keeping their homes in top condition.
Contact us today to schedule your inspection or get a free quote
FAQs
How do I know if a hole needs repair?
Any hole that allows light or moisture to pass through should be repaired promptly to prevent insulation and structural damage.
Can I match paint to old aluminum siding?
Yes, but aging siding often requires professional color matching for the best seamless look.
How long does a repair take?
Small patch repairs can take under an hour; larger panel replacements may take a few hours, depending on access and conditions.
Do professionals fix underlying water damage?
Yes, a full inspection ensures that hidden issues are addressed, saving future costs.
Are emergency siding repairs available?
Many siding contractors, including local professionals here in Leominster, offer urgent repairs after impact or storm damage.